When planning crafts for kids, especially in group settings like classrooms, Sunday school, or VBS, the goal is always the same: simple, successful, and frustration-free. This pipe cleaner butterfly craft checks all three boxes.
Using only pipe cleaners and a method designed specifically for small hands, this butterfly is sturdy, adjustable, and easy enough for kindergarteners while still being engaging for older elementary kids. There’s no glue, no beads, and no cutting required—just bending, twisting, and creating.
Why Pipe Cleaners Work So Well for Kids’ Crafts
Pipe cleaners are one of the most forgiving craft materials available for children:
- Soft and safe for young hands
- Easy to bend, twist, and reshape
- Inexpensive and available in bulk
- Mistakes can be fixed instantly
Most importantly, kids can complete the entire craft independently, which builds confidence and fine-motor skills.
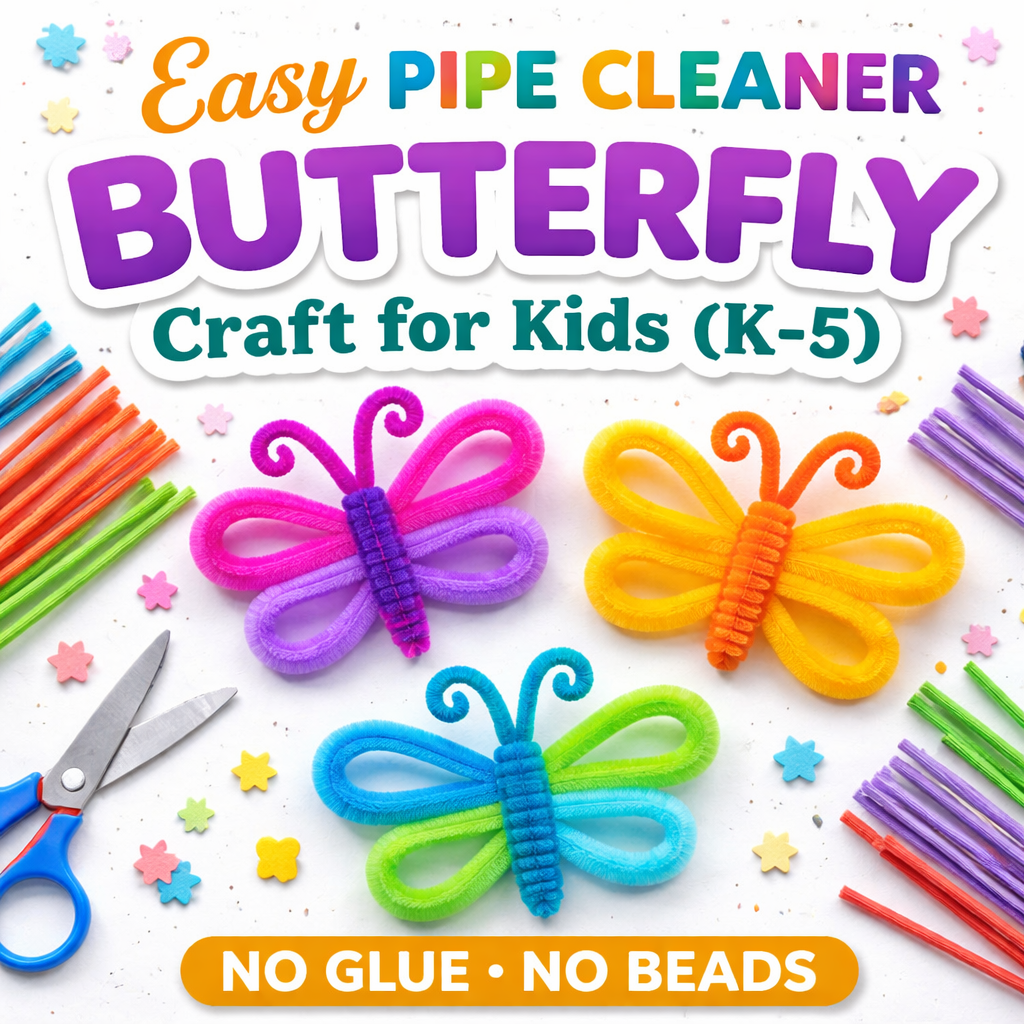
Materials (Per Child)
You only need three pipe cleaners:
- 2 pipe cleaners for the wings
- 1 pipe cleaner for the body and antennae
That’s it.
Teacher Tip: Pre-sort pipe cleaners into sets of three before the activity. This saves time and prevents confusion, especially with younger kids.
Step-by-Step Instructions
The Double-Loop & Wrap Method
Step 1: Make the Wing Circles
Take the first wing pipe cleaner and bend it into a circle. Twist the two ends together once or twice to close the loop.
Repeat with the second wing pipe cleaner.
You should now have two fuzzy circles.
Kid-friendly instruction: “Make two bracelets for your butterfly.”
Step 2: Stack and Pinch
Lay one circle on top of the other so they overlap slightly in the center. Pinch them together tightly using your thumb and pointer finger.
It should look like a squished number 8 or a bow tie. Perfect symmetry is not required.
Step 3: Add the Body Pipe Cleaner
Take the third pipe cleaner and place it vertically over the pinched center of the wings. Make sure the wings sit right in the middle.
This pipe cleaner will become the butterfly’s body and antennae.
Step 4: Wrap to Lock
Bring the bottom end of the body pipe cleaner up and the top end down. Twist them around the pinched center two or three times.
This step locks the wings in place and keeps the butterfly from falling apart.
Step 5: Make the Antennae
At the top, separate the two ends and curl the tips slightly downward or outward to form antennae.
Step 6: Shape the Wings
Gently pull the four wing loops outward and flatten them. Kids can bend the edges to make wings round, pointy, or curved.
Because pipe cleaners are flexible, kids can keep adjusting until they’re happy with the shape.
Why This Craft Works for K–5
- K–2: Focus on circling, pinching, and twisting to build hand strength
- Grades 3–5: Focus on symmetry, wing shaping, and decorative antenna curls
The same steps work for all ages—kids simply add more detail as their skills grow.
Classroom & VBS Tips
- Demonstrate the steps slowly once
- Use simple language: “Circle, stack, pinch, wrap”
- Avoid fixing butterflies unless a child asks
- Celebrate differences—no two butterflies should look the same
This craft typically takes under five minutes, making it ideal for stations or short activity blocks.