How to Download the Latest Version of Your WordPress Plugin
If you already purchased a BibleBunch WordPress plugin, your updated plugin file is available from your BibleBunch account. Follow the steps below to find your order, download the latest ZIP file, and install it on your WordPress website.
Before updating a live church website, make a current backup. A normal plugin update should not remove your saved settings or registration records, but a backup gives you a safe restore point if your website has a hosting, theme, caching, or plugin conflict.
Log in
Use the email address connected to your BibleBunch purchase.
Open Orders
Go to My Account → Orders and find your plugin order.
View order
Click View beside the order that contains your plugin.
Download file
Click the blue download button inside the order details page.
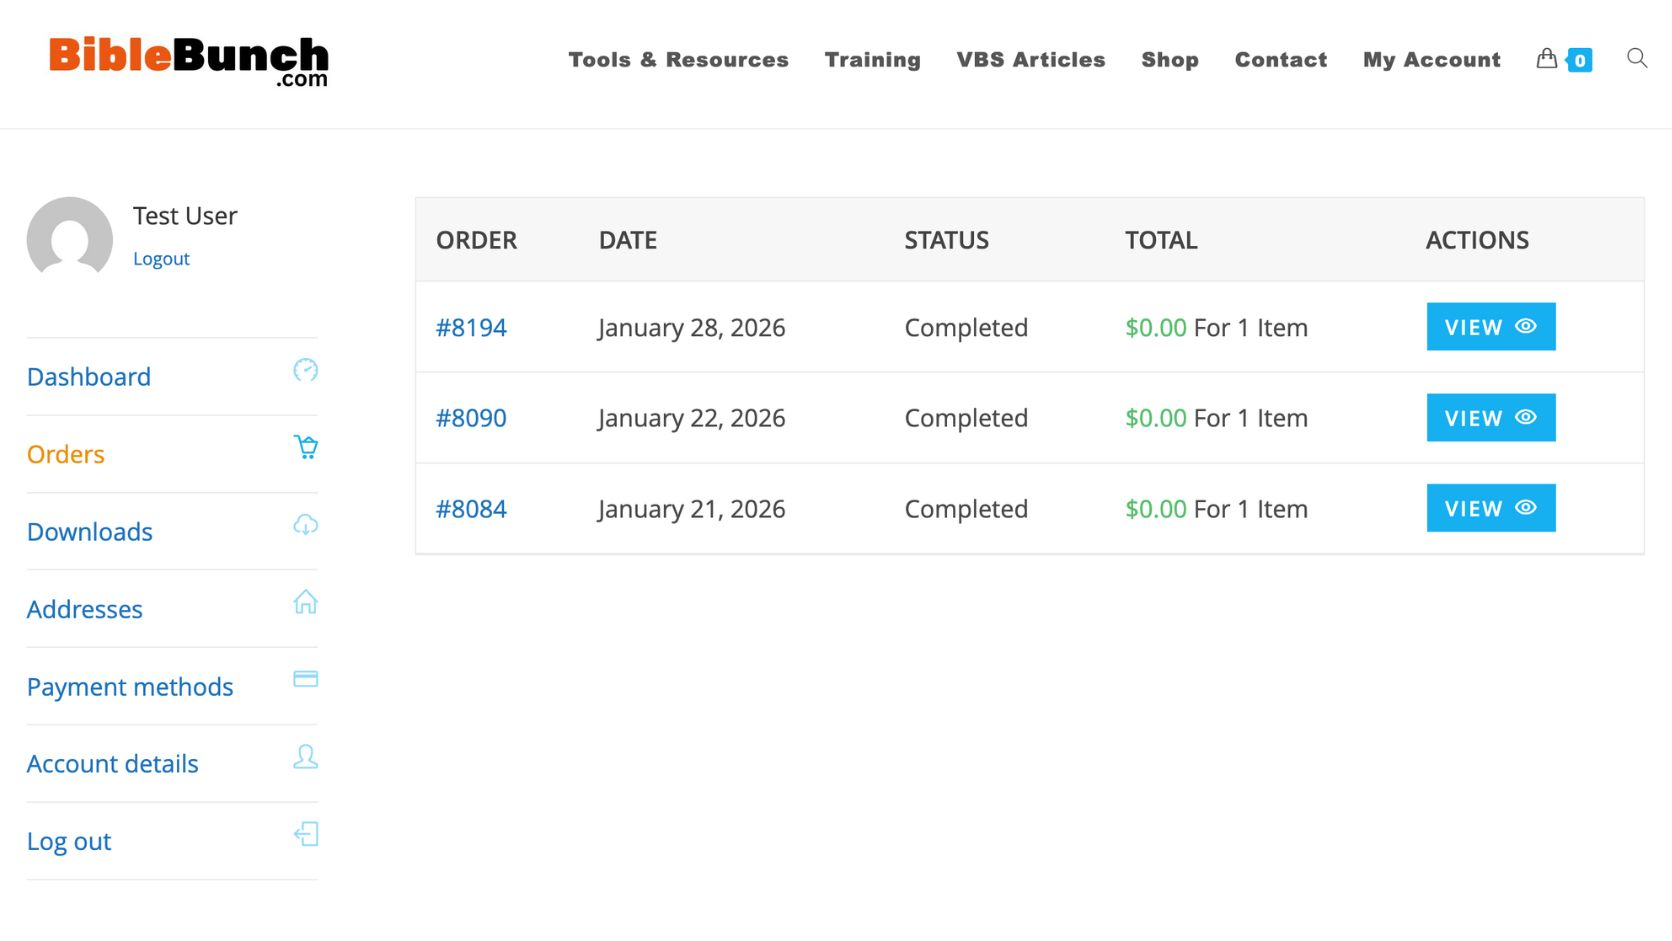
Step 1: Open your BibleBunch orders
After logging in, open your customer account and select Orders. This screen shows your completed BibleBunch purchases. Find the order connected to the plugin you want to download, then click the blue View button.
- Go to My Account on BibleBunch.com.
- Select Orders from the account menu.
- Look for the completed order that contains your plugin.
- Click View on the right side of that order.
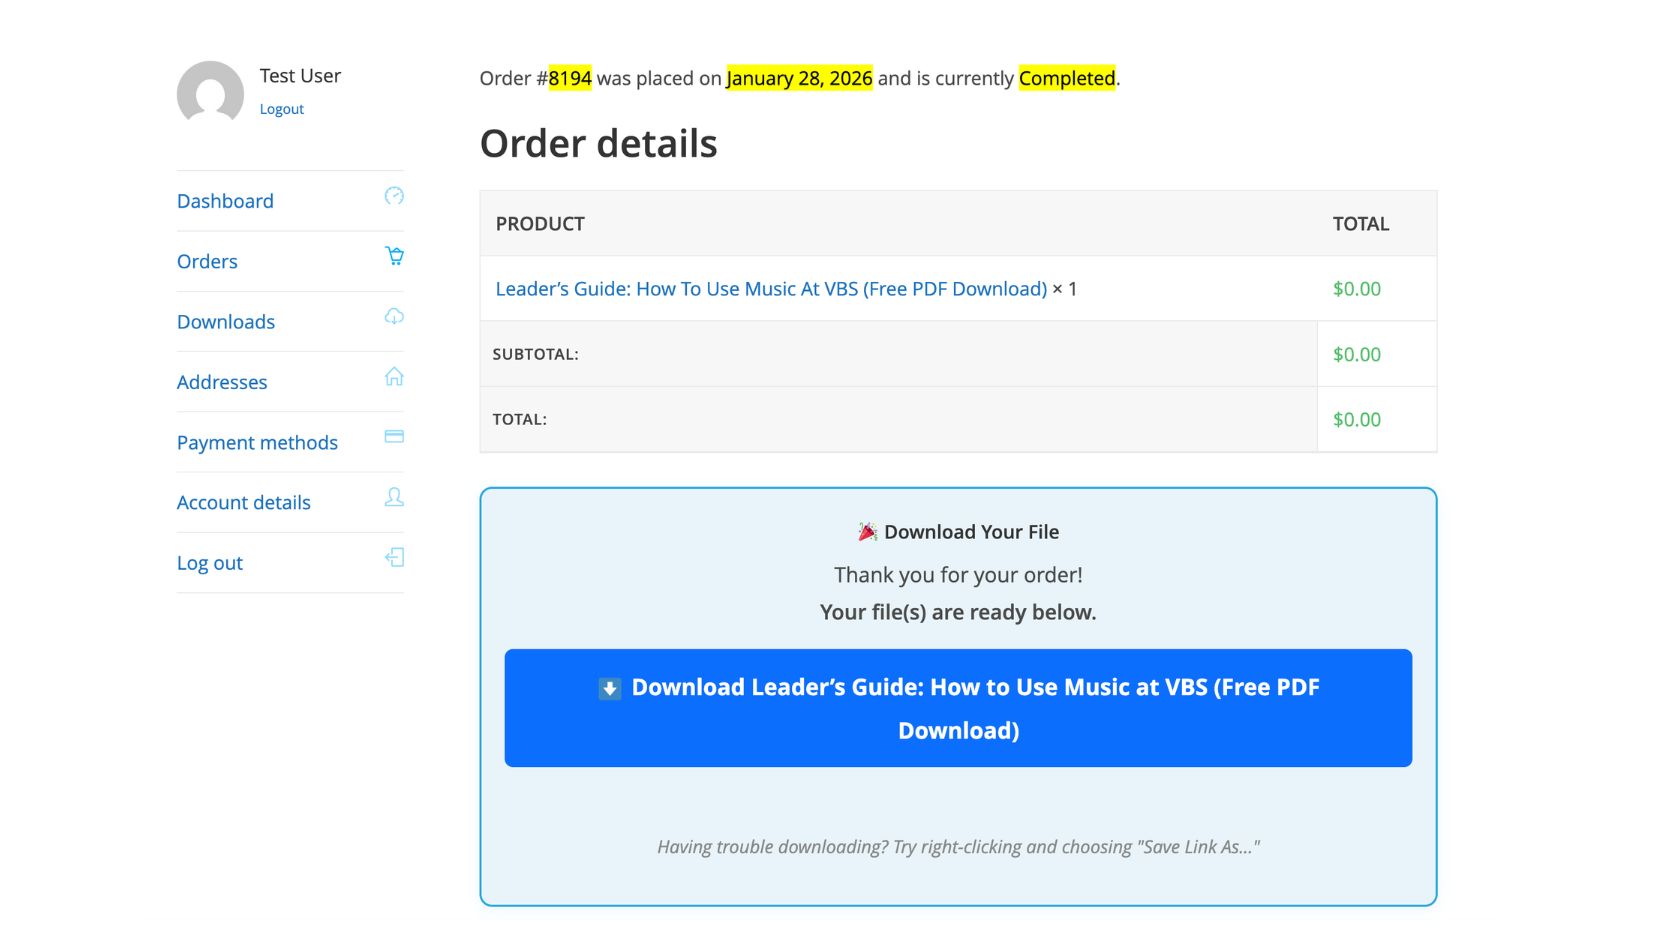
Step 2: Download the plugin file from the order details page
The order details page shows the product connected to that order. If the order includes a downloadable file, you will see a blue download button below the order details. Click that button to download the file to your computer.
Important: WordPress plugins download as ZIP files. Do not unzip the file. Save it somewhere easy to find, such as your Downloads folder or Desktop.
- Review the product listed under Order details.
- Scroll to the blue Download Your File box.
- Click the blue download button.
- Save the plugin ZIP file to your computer.
Step 3: Upload the plugin ZIP file to WordPress
Now go to the WordPress dashboard for the website where the plugin is installed. You will upload the ZIP file directly through WordPress.
- Log in to your WordPress website.
- Go to Plugins → Add New Plugin.
- Click Upload Plugin.
- Choose the plugin ZIP file you downloaded from BibleBunch.
- Click Install Now.
If the plugin is already installed, WordPress should tell you that the plugin already exists and show an option to replace the current version.
Step 4: Replace the current version with the uploaded version
When WordPress asks what you want to do with the uploaded plugin, choose Replace current with uploaded. This keeps the plugin installed while replacing the older plugin files with the newer version you downloaded.
Do not delete the plugin first unless support specifically tells you to. In most cases, uploading the new ZIP file and choosing Replace current with uploaded is the cleanest update path.
- Confirm that WordPress is replacing the correct plugin.
- Click Replace current with uploaded.
- Wait for WordPress to finish the update.
- Return to Plugins → Installed Plugins.
- Make sure the plugin is active.
What if I do not see my download?
Check the correct account
Make sure you are logged in with the same email address used at checkout. Downloads are connected to the account that placed the order.
Check the order status
The order usually needs to show as Completed before downloadable files appear in the account area.
Look inside the order
Some download buttons appear inside the individual order details page rather than directly on the main account dashboard.
Contact support
If you still cannot find the file, send your order number and purchase email so we can check the order.
Troubleshooting quick guide
| Problem | What to do |
|---|---|
| The file downloaded as a ZIP file. | That is correct. Upload the ZIP file to WordPress. Do not unzip it first. |
| WordPress says the plugin already exists. | That is expected during an update. Choose Replace current with uploaded. |
| The site still looks the same after updating. | Clear your browser cache, website cache, and hosting cache. Then reload the page. |
| The plugin is installed but not active. | Go to Plugins → Installed Plugins and click Activate under the plugin name. |
| The update caused an error. | Restore from your backup if needed, then contact support with the plugin name, version number, WordPress version, and a screenshot of the error. |